DIY Backdrop: Create a Beautiful Setting
What do you do when the location that you are hosting the baby shower has a less than ideal backdrop for your party decorations? Perhaps there are family photos or paintings on the wall that cannot be moved, or the wall color detracts from the theme.
Maybe you are in a community center where the lighting and/or background is not that pretty or you are outdoors and you want a nice backdrop to place behind the table. Here is a simple solution: make your own backdrop!
This simple DIY backdrop can created to go with any theme and any situation. A nice clean palette makes decorating for a party so much easier!
Simply set it up and decorate it to go with your theme. Since I do not glue my connectors, they come apart easily for storage and they are easy to transport to the location of the party.
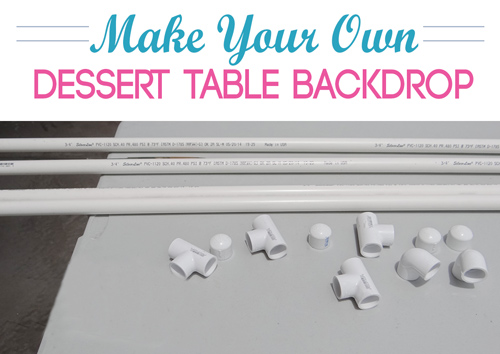
You will need:
- 4-10 ft pvc pipes (3/4 width)
- 2 elbow pvc connectors
- 4 t connectors
- 4 pvc end caps
Creating Your Backdrop
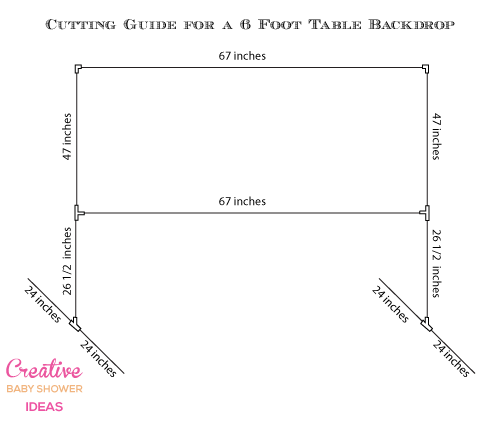
The great thing about the pvc pipe is that the size can be customized to each party. For this standard table backdrop, I measured everything off of my 6 foot folding table I use for parties. The connectors are not glued in place, so if I need a taller or wider section, I can just cut new pvc pipe to the correct length and slide it in place.
Based on my table, I decided that I wanted the backdrop to be 6 feet 5 inches tall and 5 feet 10 inches wide. I wanted it as wide enough that it would look good behind my six-foot table and tall enough to fit my material. I created a chart based off my measurements so you can easily duplicate it. These are the exact cuts we made, taking into account the inch or two the connectors added to the length.
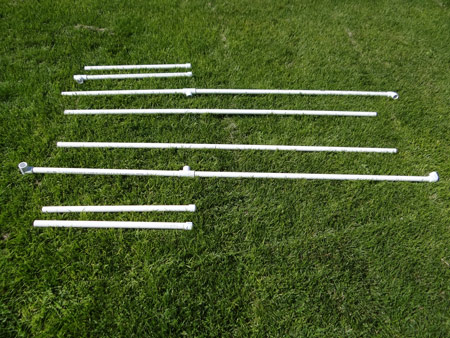
After you have made your cuts, lay out all of the pieces in front of you so you can easily grab the one you need to connect everything together. I actually store mine with the connectors still attached so I don't have to guess where each piece goes.
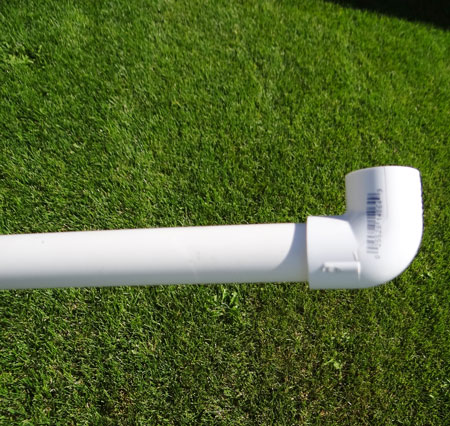
Start by attaching the two elbow connectors to the two 47 inch length pipes.
Then attach a t junction connector to the other side so the middle connection is pointed sideways.
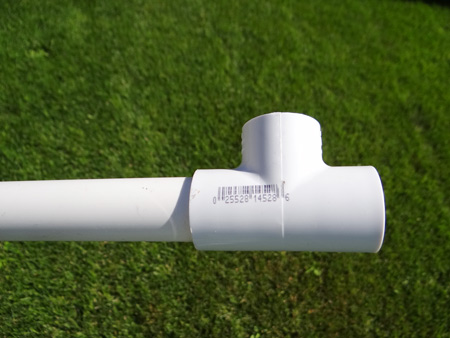 Once each side has a t connector attached, slide a 26 1/2 inch pipe into the bottom connection of the t connector.
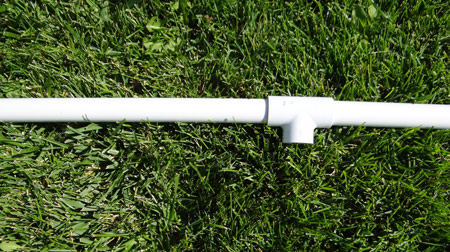
Complete each side bar by connecting a t connector to the bottom.
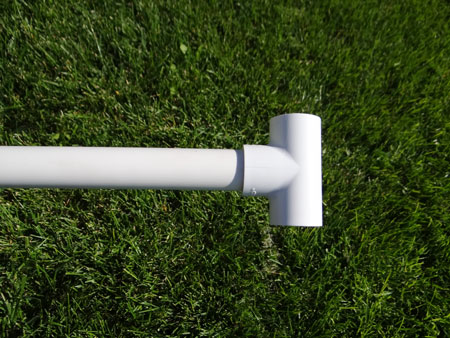
Line up the side bars of the backdrop with the middle bars.
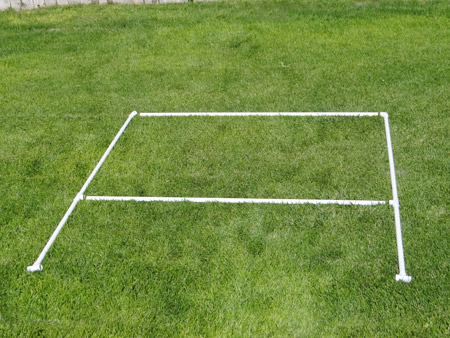
Firmly push all the pvc pipes together. If you are not using glue to keep the connect in place, use a rubber mallet or a (strong husband ;)) to make sure the connectors are fully connected.
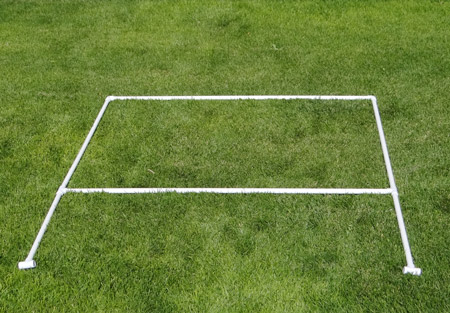
Now you are ready to connect the legs to the backdrop. I started by connecting the front legs to the backdrop while it was still lying down. Slide a 24 inch pvc pipe into the front of the t junction connector. Once it is firmly in place, finish the look with a pvc end cap. Repeat the process for the other leg. Stand up the backdrop and repeat the process with 2 more pvc pipes of the back side of the backdrop.
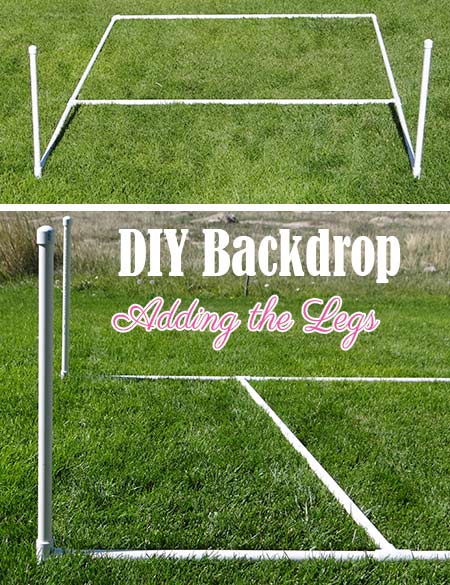
Once all the pvc pipes are in place, your backdrop is ready for use! All you need to do at this point is decorate. Since I placed the middle bar at the height of the back of the table, I have additional support behind the table. You can adjust the lengths and the sizes of the pvc pipes for your individual needs. You can use it for photo backdrops, table backdrops, unsightly shields (like that lovely common grassy area in my backyard), or to create the right mood for your party.
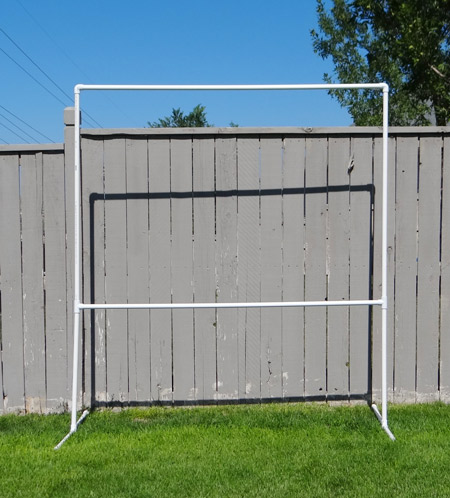
DIY Backdrop Decoration Ideas:
There are lots of different ways to decorate your backdrop. One of the quickest and easiest ways is with curtains. Since there is a top bar to the backdrop, all you need to do is unattach one elbow connector and slide the curtains across the top. In this example, I am using the sheer ikea tulle curtains. They are $2 a panel and come with two panels in a package. So for this picture, I am using 4 panels and it cost me a total of eight dollars. See how it is a little sheer looking? This would look great with white Christmas lights pinned along the back side. For covering up this back field though, it is not quite enough.
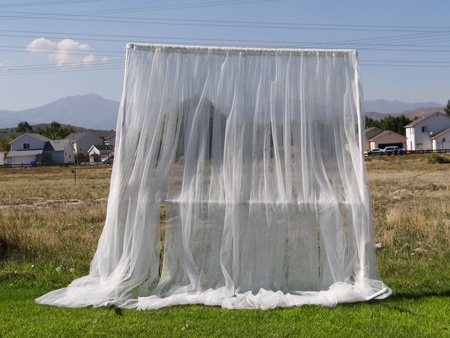
I can either use different curtains to completely block the look or add something else underneath the curtains. I added a white twin sheet (Walmart, I think it was around $3) and pinned it on the backside of the curtains. It doesn't go all the way down to the ground (I pinned it lengthwise), but that is okay because the table will be set up in front of it, covering the bottom half. Pretty neat, huh!
Some other ideas for covering the backdrop are material, a table cloth, and wrapping paper or butcher paper. Decorate it with tissue pom poms, paper rosettes, streamers, banners or garland. The possibilities are endless!
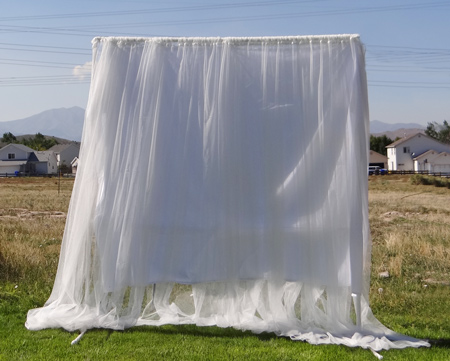
Some notes when using your backdrop outside, if there is any wind at all, you will want to weight it down a little so there are no issues. We cut the legs the same length so they will balance each other out, but you do not want to take any chances of it falling over with a little wind. Use something to weight down the bottom bars of the backdrop to hold it in place. Anything heavy will do.
I used the same backdrop inside with a star garland for a red, white and blue celebration. To re-create this, all you would need is white material to cover the backdrop. Then you would space the garland to hang down in front of it.
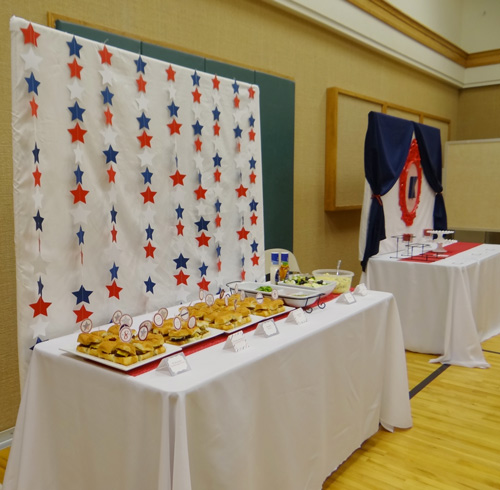
Once you have all the initial work done, this diy backdrop is great for baby showers, bridal showers, weddings, birthdays and other events. And my favorite part, I don't need a truck to transport it. Hope you have enjoyed this tutorial. We would love to see your photos if you create a backdrop like this!




New! Comments
Have your say about what you just read! Leave me a comment in the box below.