Make a Napkin Baby Shirt -
Easy Folding Techniques
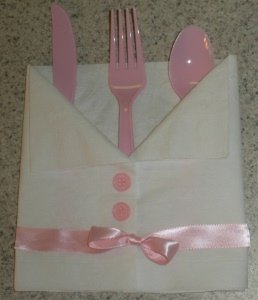
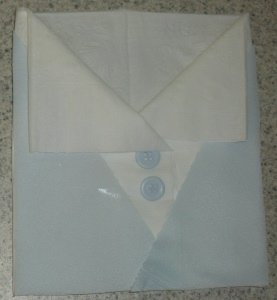
This napkin baby shirt is the cutest idea!! I am definitely going to use it at my sister's baby shower next month. Thanks!
Looking for a cute and fun touch to add as a table decoration? We have a very simple and fun craft that is very inexpensive to make. This napkin folding technique can be used with normal paper napkins and requires no cutting! Add a cute touch to your table and display your tableware in a fun way with this craft idea.
What you will need:
- Dinner napkins (the square kind)
- Glue or double sided sticky tape
- Decorating accessories like buttons, ribbon, fabric, etc.
Napkin Folding Steps
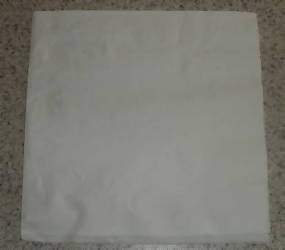
Step 1: Take a square dinner sized napkin and unfold the first layer.
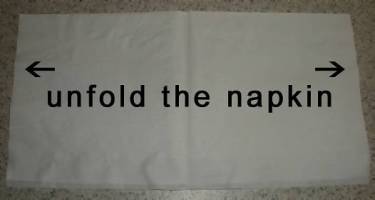
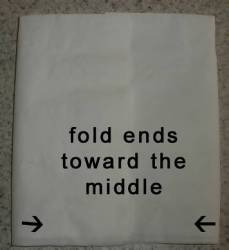
Step 2: Fold the two outside edges in towards the center.
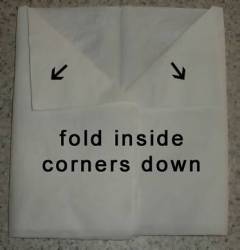
Step 3: Fold down the top two inside corners. This will turn into the collar of the shirt.
Step 4: Now you need to create an envelope to hold your utensils. Use either glue or double sided sticky tape along the two inside edges. Then use glue or double sided sticky tape along in inside of the bottom of the napkin. This will seal off the bottom and create a pocket for the utensils to sit in.
Side note: Be careful when using glue, it will show easily through the napkin. If you are covering those spots with decoration then you might be ok with the look. You will need to try it first and see if you like how it turns out.
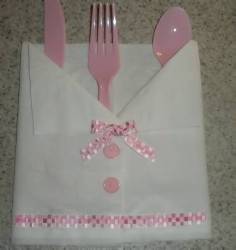
Step 5: Decorate!!! In my examples I made a girl and boy shirt with buttons. You can use colored napkins, different colors, sizes and textures of ribbon, lace or material to create your own look.
I hope you enjoyed this napkin folding craft! Be sure to come back and share your photos with us. We would love to see them!


New! Comments
Have your say about what you just read! Leave me a comment in the box below.