Easy Ruffle Onesie Instructions
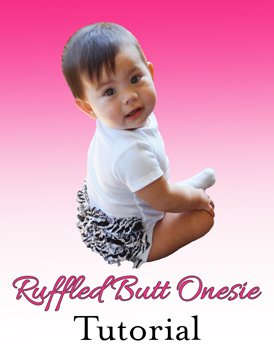
I am totally in love with this baby gift idea... Ruffle Onesies! I love how cute little babies look in them. This project is really easy and inexpensive. All you need is a baby onesie (bodysuit) and some cute material to make a custom looking outfit.
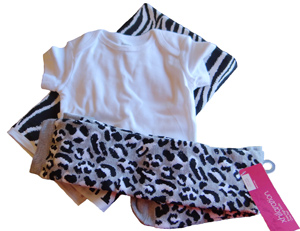
Materials:
When I started this project, I decided that some matching leg warmers would be an adorable accessory! Since babies who sit up also love to crawl, leg warmers add a needed protection for those little knees!
You will need:
- A Baby Onesie (bodysuit)
- Material (1/4 of a yard is plenty)
- Sewing Machine
- Thread
- Needles
Make The Ruffles for your Onesie
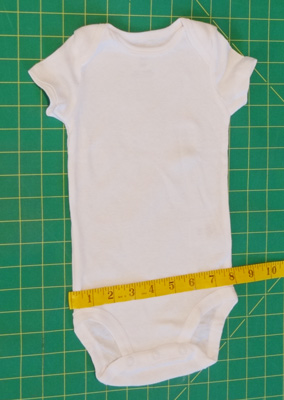
The first thing you want to do is measure the onesie. There will be 2 measurements. The first one will be across the back of the onesie, just above the leg holes. I used a 6 month sized onesie and my measurement was 8 inches.
The second measurement will be right below the first, at the beginning of the leg hole. My second measurement came to 6 inches.
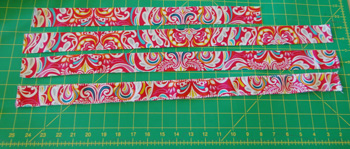
Once you have your measurements, you are ready to cut your strips. The strips will be 3 times the length of the 2 measurements you took. My first measurement was 8 inches so my strip would be 24 inches long. I cut 3 strips that were 1.5 inches wide and 24 inches long.
For the second measurement, it came out to 6 inches wide. So when I multiplied that by 3, I cut 1 strip that was 18 inches long and 1.5 inches wide.
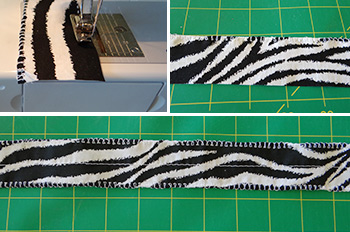
Once I had my strips cut, I decided I wanted the edges to have a finished look to them. So I went around all 4 edges of each strip with my sewing machine. I did a double overlock stitch, but you could create a similar look with a zig zag stitch that goes off the edge of the material as you are stitching it if that option is not available on your machine.
Creating the Ruffle
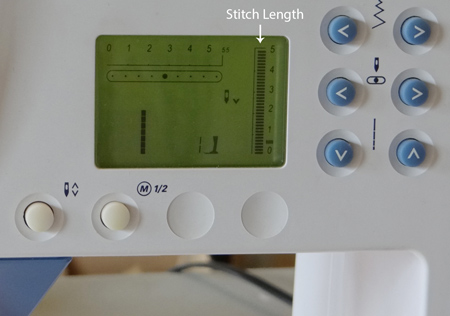
To create the ruffle, select the straight stitch on your machine and turn the length up as high as it will go. My machine goes to a 5 length. Stitch down the center of each strip.
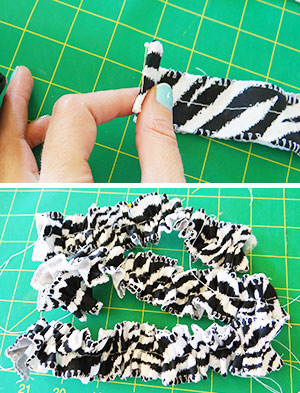
Once all of the strips are done, you are ready to create the ruffle. Fold each strip in half and pin it to hold the center line. Then hold the center thread on each side and pull the material towards the middle pin to create the ruffle.
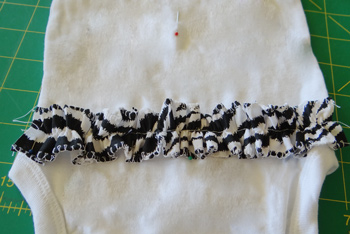
To attach the ruffle, find the center of your onesie by folding it in half lengthwise and pinning the center. Then use the middle pin of one of your longer ruffles to line up one strip just above the leg openings.
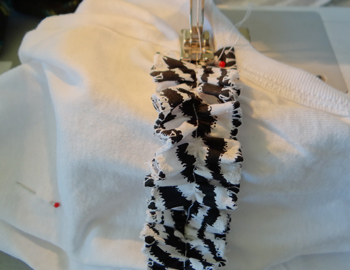
Pin the ruffle in place and sew it onto the onesie. (Make sure to set the straight stitch back to its normal setting first.)
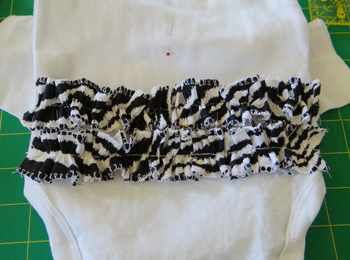
Once it is sewn in place, you can use the ruffle as a guide to line up the rest of the ruffles. Here are the first 2. Sew each ruffle in place after your line it up and pin it.
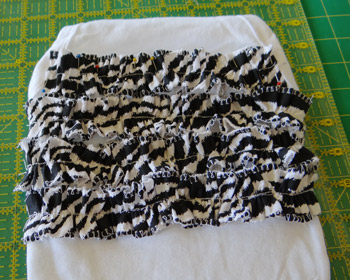
Continue to line up ruffles. I finished with 4 ruffles, but you could also do 3 and still have a really cute outfit. Once you are satisfied with the ruffles, you can go back and pull out the basting stitch to give it a clean look. (The basting stitch is the original long stitch you put in at the beginning to create the ruffles before we attached it to the onesie.) ;)
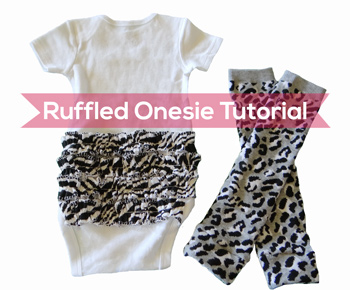
Here it is finished. I paired the zebra striped ruffles with some matching leg warmers I made. A-D-O-R-A-B-L-E baby gift!
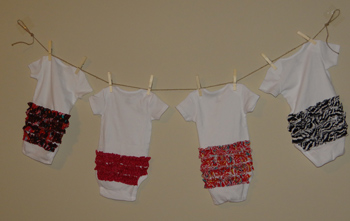
There are so many possibilites of design with different colors of fabric!
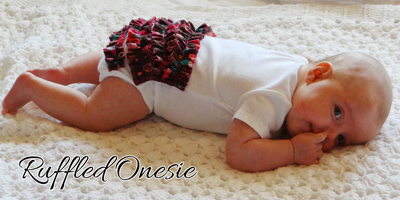
See how cute it is on my 3 month old model? She was not to the crawling or sitting up stage, but she sure was cute in it!





New! Comments
Have your say about what you just read! Leave me a comment in the box below.