Decorate Onesies for a Baby Shower Activity:
A Fun Craft Idea For All Skill Levels
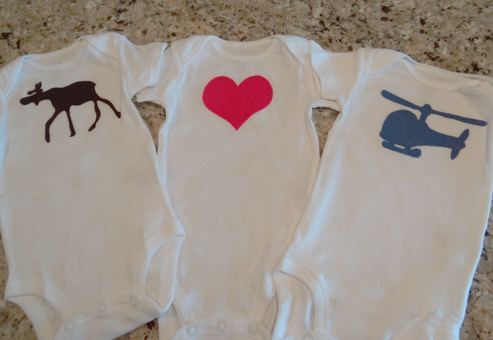
Looking for a great (non-cheesy) activity to do at a baby shower? You can decorate onesies as a fun activity that party guests can enjoy at a relaxed and casual pace. Not only do you get creative works of art at the end of the party, each onesie can be hung up on a baby clothesline to be used as part of the baby shower decorations.
What I love about this project is that at the end you will have adorable clothing that the new mommy would love to have her child wear.
I have seen onesies decorated with puff paint and markers at parties that are cute (and I am not mocking them), but if you do an actual applique of shapes or wording, you will get a much better result in the end.
I used felt for these appliques because I love the soft look that it has. But you can also follow these instructions, substituting fabric in place of the felt and you will get great results.
To decorate onesies, you will need:
- Baby Onesies
- Heat n Bond transfer paper
- A shape printed onto card stock- mirror imaged
- Felt- in the color of your choice
- Embroidery Floss- matching the color of your felt
- Embroidery Needle
- Scissors
- Iron and ironing board
Before starting out, look at your shape you are going to use. Double check that you have the shape printed it as a mirror image of itself. By the time it is ironed onto the onesie, it will be the correct direction, but if it is not flipped in the beginning, you will have a backwards shape. ;)
This heart is symmetrical, so it doesn't matter as much. But if you have an animal or letters, you will want to make sure it is correct before you start any cutting.
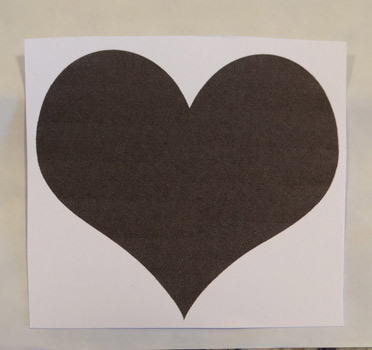
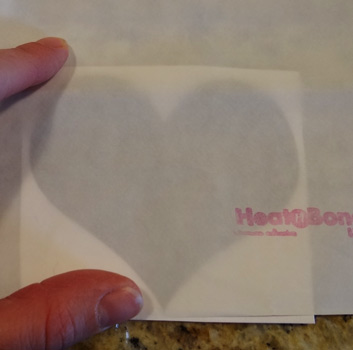
Start out by taking the shape you are going to use for the applique and placing it under your transfer paper so the shape design shows through. Trace the shape with a pencil.
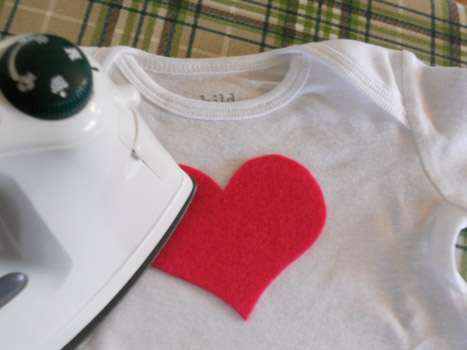
Place transfer paper on the felt and cut out a square that is slightly larger than your design. Set up your ironing board and iron. Heat the iron to the wool setting. (I am using the instructions for heat n bond, so if you have a different type of transfer paper, follow the instructions that came with it.)Iron the shape a section at a time, holding the iron over it for 4-6 seconds.
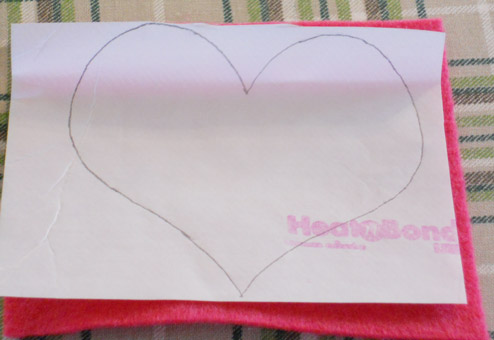
Allow to cool for a few seconds and then cut around the shape. Peel the white paper off the back of your shape. Place on your onesie exactly where you would like it to go.
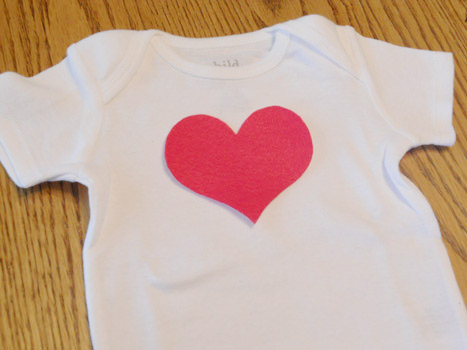
Iron the shape onto your onesie. Now the directions stop there. But I like to stitch around the edge of the shape to make sure there will be no problems with it ever lifting.
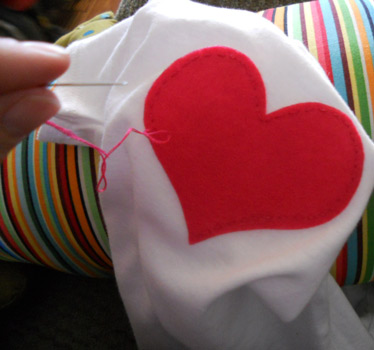
What I did was sew a simple straight stitch along the outside edge of your shape using embroidery floss and a needle. If you haven't ever hand stitched anything, you might be a little worried about this part. But it is pretty simple. Just a straight stitch. You can also machine embroider it on if you would like....or you can give it to someone willing to do it for you. In exchange for cookies maybe. ;)
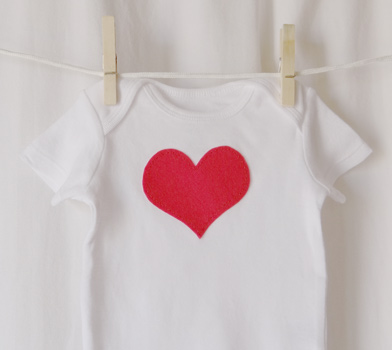
There you have it! A beautiful onesie that will be cherished. Here is the heart onesie I made.
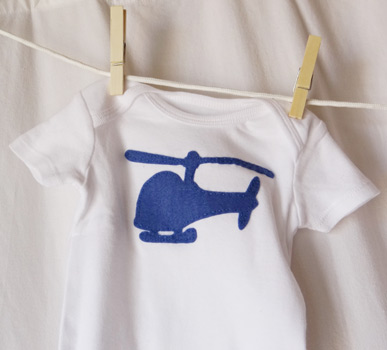
I also made a helicopter onesie. (My husband used to fly helicopters so I thought it would be a fun shape to use.)
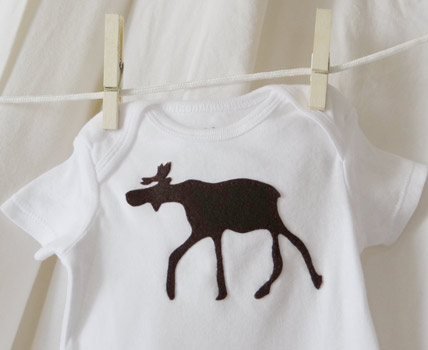
And then I made a brown moose onesie. It was a really fun design to use. A side note on this one. The antlers actually "broke" on me while I was hand stitching it. There is a narrow piece of felt connecting the antlers and it actually separated. I fixed it by hand stitching the section in place. This is one of the reasons I say to make sure it is reinforced. I would hate something like that to happen after I gave it as a gift.
If you are decorating onesies as an activity for your baby shower, here are some tips to help you:
- Print out a bunch of shapes and letters you think your guests would like. (Make sure to mirror image them and check the size to match the size of the onesies.)
- Decide beforehand if you are going to have your guests stitch around the onesies or have it done after the party. If the designs are detailed, it might take a while to do the stitching. If your guests are going to do the stitching, cut down on the process by providing pre-traced shapes ready to go on your heat n bond to help cut down on time.
- You can also have swatches of fabric that you have pre-ironed to heat n bond. Then all your guests need to do is trace the shape onto the pre-ironed pieces, cut out and iron them onto the onesies.
- Make a few onesies before the party to get familiar with the steps. Then you can have some cute examples for everyone to look at and you can help instruct on the little details...like tying a knot in the thread. ;)
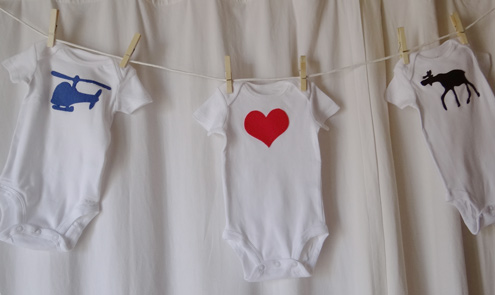
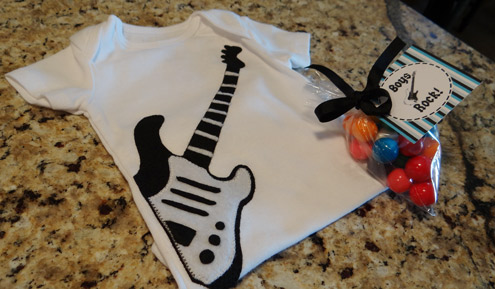
Even if you choose not to do this as a activity, appliqued onesies will still make a great baby shower gift. You can make it ahead of time and match the party's theme with the colors and designs, then hang it on a cute baby shower clothesline as part of the decor. Or just make some custom onesies and take to a baby shower as a gift. I have detailed instructions to help you make the tie and suspender onesies below.
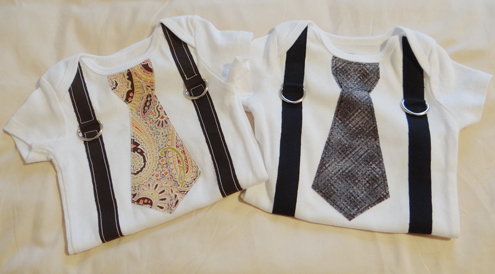
Here are a few more onesie ideas:
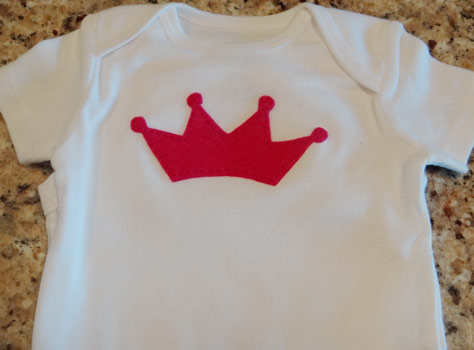
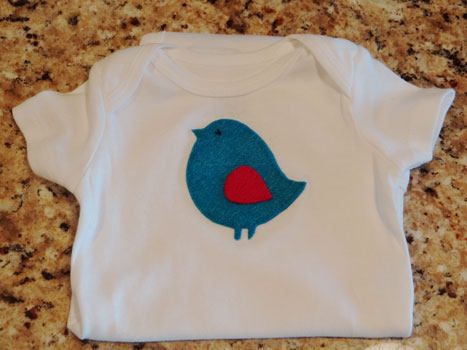
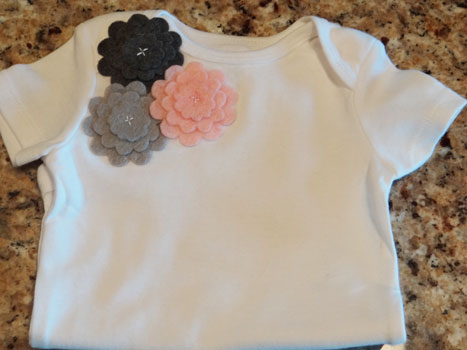



New! Comments
Have your say about what you just read! Leave me a comment in the box below.